Learning how to test faulty electronics safely can save time, reduce repair costs, and protect your devices from further damage. Many electronic faults come from simple issues such as loose power leads, blocked ventilation, or incorrect settings. This guide explains how to troubleshoot electronics at home using safe step-by-step methods that avoid electrical risks. It covers safe electronics testing tips, visual inspections, power checks, and when DIY electronics troubleshooting should stop. By following these steps, homeowners can identify basic faults, prevent worsening damage, and know exactly when to call for electronic repair support for professional servicing.
Why Safe Testing Matters Before Repair
Electronics contain sensitive components that can fail easily if handled improperly. Touching live circuits, forcing stuck parts, or using the wrong tools can create safety risks and permanent damage.
Checking faulty devices before repair gives you a clearer idea of whether the issue is minor or requires expert help. Safe testing protects the device, your home, and your personal safety while avoiding wasted money on unnecessary service calls.
Step 1: Power Down and Unplug the Device
Before touching any electronics, disconnect them fully from power. This is the most basic but important safety rule.
Unplug from the wall
Remove batteries if present
Allow internal capacitors time to discharge
This step supports all safe electronics testing tips and prevents accidental shocks.
Step 2: Inspect Power Cables and Connections
Loose or damaged cables cause many electronic failures.
Look for:
Frayed insulation
Bent plug pins
Burn marks
Loose connectors
Try a known-working power lead or outlet. Simple cable faults are often mistaken for internal failures.
Step 3: Check for Overheating and Vent Blockage
Dust buildup restricts airflow and causes heat stress.
Clean ventilation grills
Check internal fans
Allow cooling time
According to Energy.gov’s electronics efficiency guidance, heat buildup shortens device life and increases failure risk
This step is critical when testing faulty electronics safely, especiallyTVs, amplifiers, and gaming consoles.
Step 4: Reset Software and Settings
Many problems come from corrupted firmware or incorrect settings.
Power cycle the device
Reset to factory settings
Update firmware
This method supports DIY electronics troubleshooting without opening the device.
Step 5: Test With Alternate Inputs or Accessories
Before assuming a device is faulty:
Swap HDMI or audio cables
Test a different power outlet
Try another speaker or controller
This helps check faulty devices before repair and avoids unnecessary service bookings.
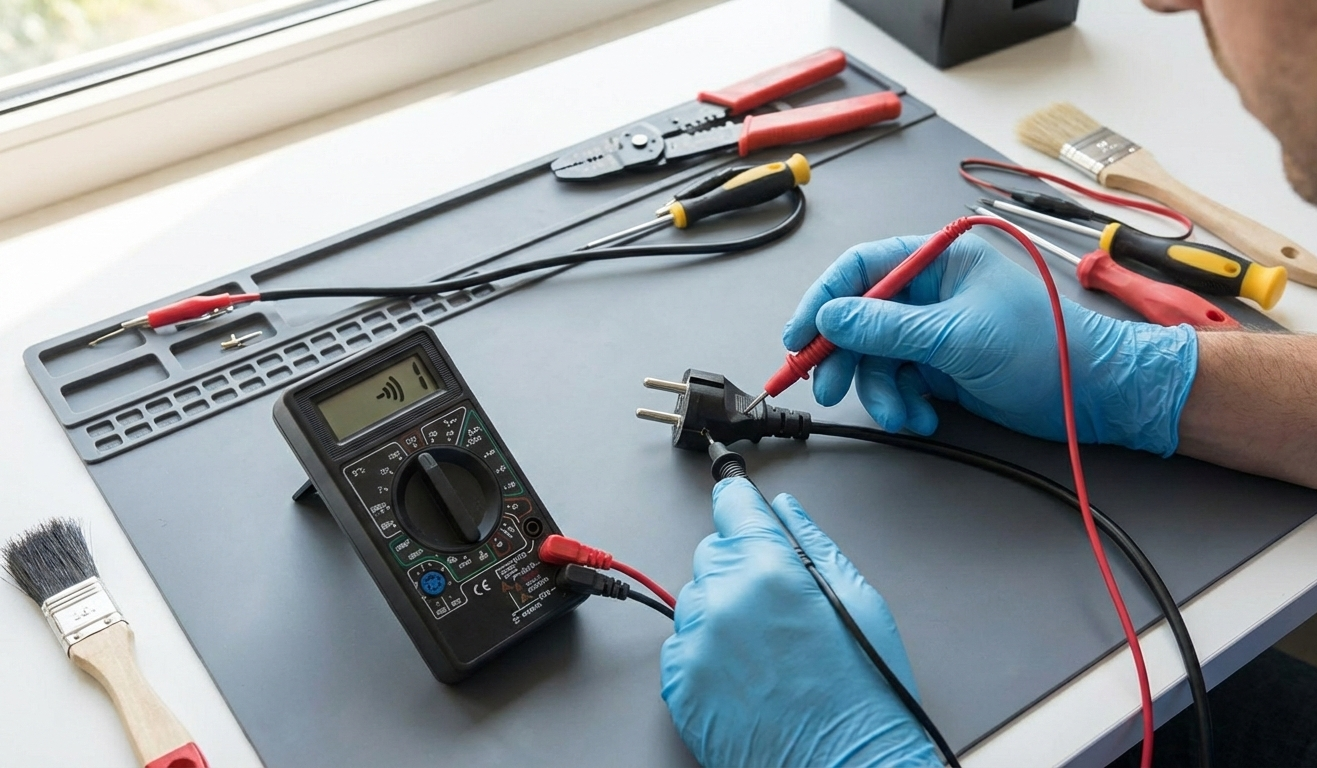
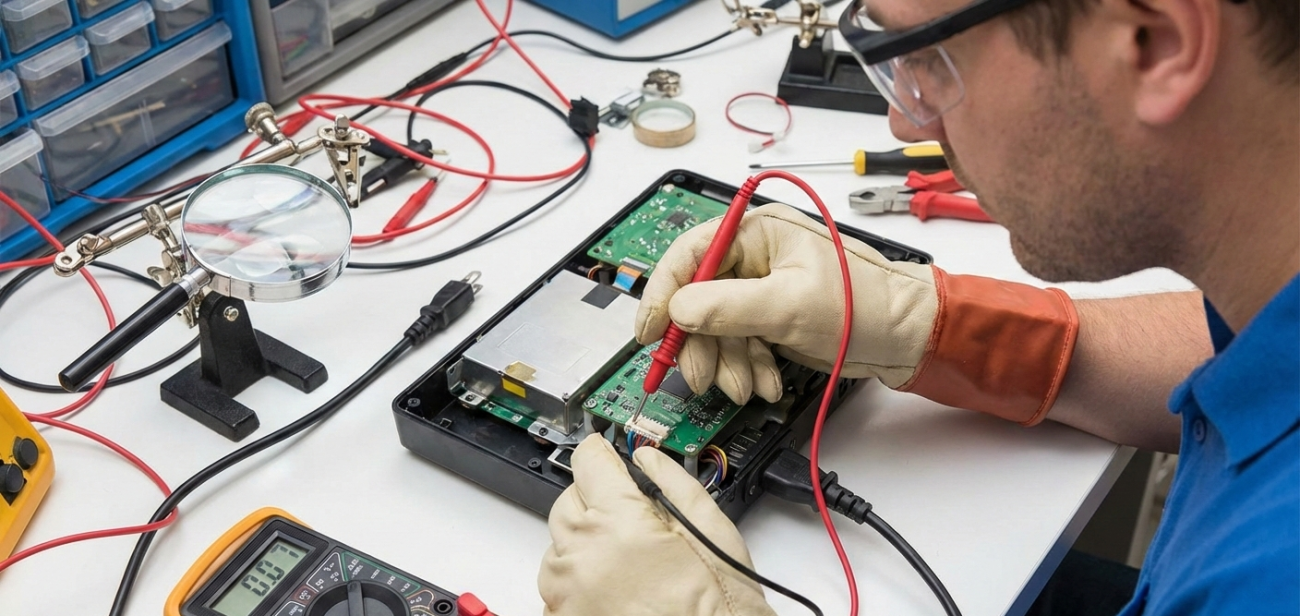
Step 6: Use a Multimeter (Only if Trained)
If you understand electrical safety basics:
Test power adapters for voltage
Check fuses for continuity
Measure outlet voltage
Never test internal circuits unless trained. Incorrect probing causes injury or damage.
Step 7: Look for Physical or Liquid Damage
Signs that DIY testing should stop:
Cracked casing
Burned circuit smell
Corrosion
Sticky residue
Swollen batteries
According to iFixit’s liquid-damage guidance, moisture can cause long-term circuit failure.
These warning signs mean it’s time to move toward when to call for electronic repair.
Step 8: Identify When DIY Stops Being Safe
Stop testing if:
The device sparks
Circuit boards are exposed
The unit overheats quickly
You hear a loud buzzing
These risks outweigh any DIY savings.
Step 9: Keep Notes on Symptoms
Record:
Error messages
Intermittent shutdowns
Sound distortion
Power flickers
This speeds up diagnosis during professional servicing.
Step 10: Consider Device Type and Value
High-value devices like:
TVs
Valve amplifiers
Digital pianos
Studio equipment
…should not be opened at home. Attempting internal repairs often causes more damage than good.
Common Mistakes During Home Electronics Testing
Plugging in damaged cords
Using metal tools on live circuits
Ignoring heat warnings
Opening sealed power supplies
Skipping basic checks
Avoiding these errors keeps home troubleshooting safe and effective.
When Professional Repair Is the Better Choice
You should stop DIY testing and seek help if:
The fault repeats after resets
The device shows burn marks
Internal noise is present
The unit won’t power on at all
There is visible internal damage
This is the point at which to call for electronic repair.
Final Thoughts
Safe testing helps rule out simple faults and prevents accidental damage. By following proper steps, homeowners can avoid unnecessary repair costs while protecting valuable electronics.
For expert diagnosis and professional servicing, contact Brocky’s Electronics today. Their experienced technicians handle everything from Music Equipment Repair to Sony TV Repair, offering reliable support for home electronics and audio gear.
FAQs
1. Is it safe to open electronics at home?
Only if you are trained. Opening sealed devices can cause an electric shock or void the warranty.
2. Can software issues mimic hardware failure?
Yes. Firmware bugs and settings errors cause many false hardware symptoms.
3. Should I use a multimeter on all electronics?
Only if trained. Incorrect testing damages internal components.
4. What’s the first step in DIY electronics troubleshooting?
Disconnect power and inspect cables for damage.
5. When should I stop DIY testing?
Stop if overheating, sparks, or exposed wiring appear.


