When something in your home stops working, the instinct is to have a look yourself. And for many faulty electronics issues, some basic testing at home is entirely reasonable and safe. But there’s an important line between testing that helps you understand what’s wrong and DIY investigation that makes things worse, or puts you at risk.
At Brocky’s Electronics, we see the results of both every week. Customers who’ve done smart, safe preliminary checks that help us diagnose faster, and customers who’ve made a straightforward fault significantly more complex by going too far without the right knowledge or tools. Here’s a clear, honest guide to what you can safely test at home and where to stop.
Why Testing Faulty Electronics Safely Matters
Not all faulty electronics present the same risk. A television remote that’s stopped working is a very different situation to an amplifier that’s developed a hum or a device that’s showing signs of internal electrical failure. The potential for harm, both to you and to the device, varies enormously depending on what you’re dealing with.
The risks of incorrect DIY testing include:
- Electrocution from capacitors that hold lethal charge even when unplugged
- Causing short circuits that destroy components that would otherwise be repairable
- Voiding manufacturer warranties by opening the device
- Masking symptoms that a technician would have used for accurate diagnosis
- Turning a minor fault into a complete write-off
Understanding these risks before you start is what separates safe testing from a costly mistake.
Safe Tests You Can Do at Home
1. Check the Obvious First
Before assuming the worst, work through the basics. A surprising proportion of faulty electronics faults are caused by simple issues that don’t require any technical knowledge to identify.
What to check:
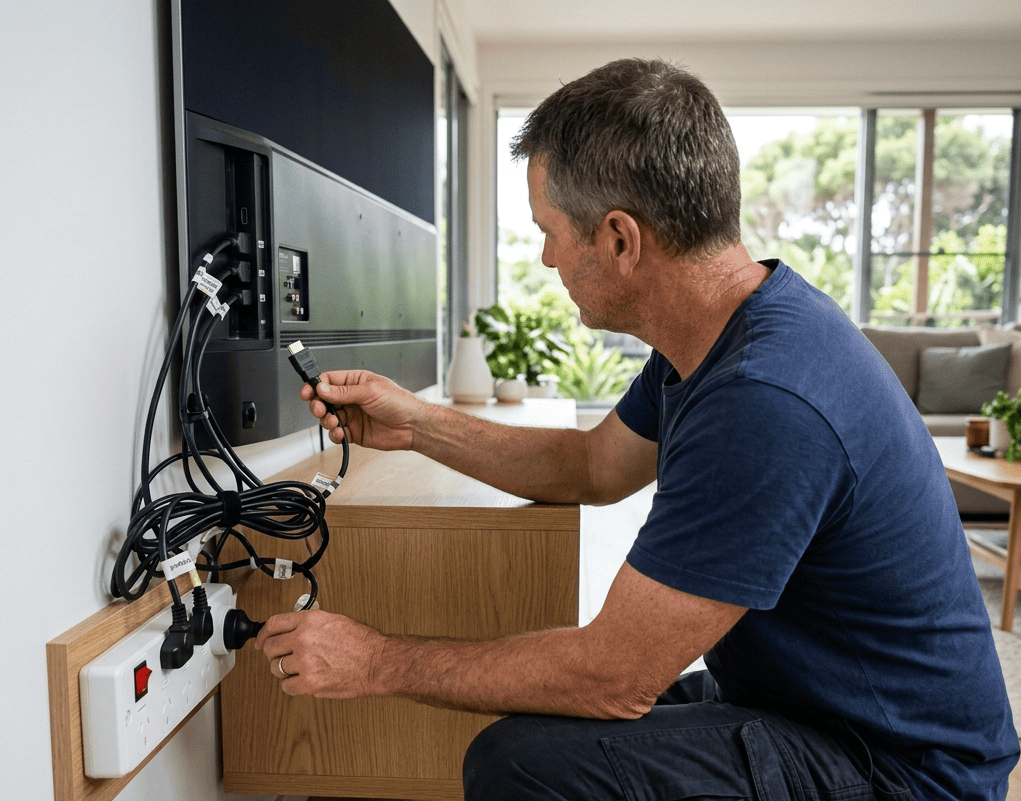
- Is the device properly plugged in and the power outlet working? Test the outlet with another device
- Is the power board or surge protector functioning? Check its indicator light and reset button
- Are all cables firmly seated at both ends, including HDMI, audio, and power connections?
- Has a fuse blown in your home’s fuse box that may have cut power to that circuit?
- Is the device in standby or sleep mode rather than genuinely off?
Working through this list resolves more faults than most people expect, and costs nothing.
2. Perform a Factory Reset or Firmware Check
Many faulty electronics issues, particularly in smart televisions, set-top boxes, digital pianos, and audio equipment, are software-related rather than hardware faults. A factory reset or firmware update resolves these without any component-level investigation.
What to do:
- Check the manufacturer’s website for the latest firmware version for your specific model
- Perform a factory reset following the manufacturer’s instructions, after backing up any custom settings
- If the fault appeared immediately after an update, check the manufacturer’s support page for known issues
3. Test With a Known-Working Replacement
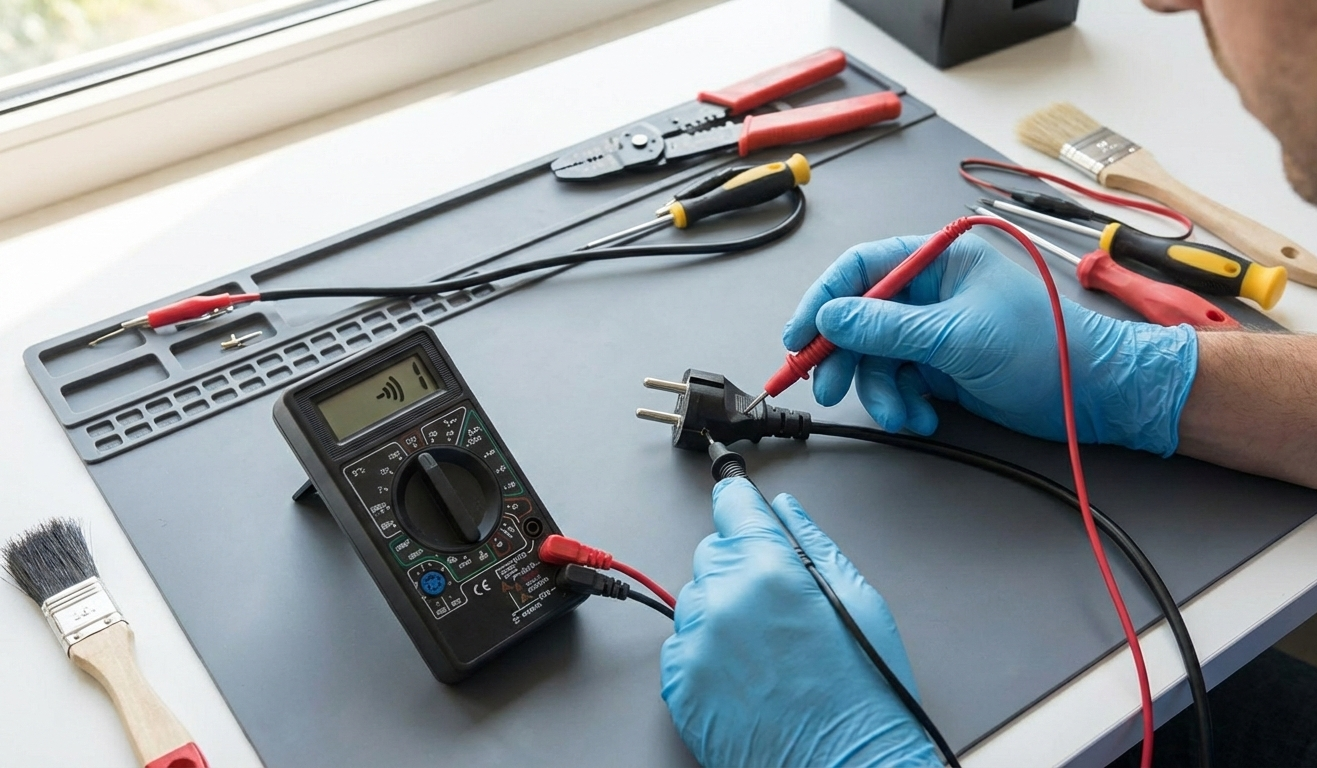
One of the most useful and safest diagnostic steps for faulty electronics is substituting a suspected component with one you know is working.
Safe substitutions to try:
- Replace the batteries in remotes, wireless keyboards, and pedals before assuming the device has failed
- Swap HDMI, audio, or power cables with known-working alternatives to rule out cable faults
- Try a different power adapter if the device uses an external supply, matching voltage and current exactly
- Test the device on a different power outlet or power board to rule out supply issues
This approach tells you a great deal about where the fault lies without opening anything or risking further damage.
4. Use Your Senses to Gather Information
Your senses are surprisingly effective diagnostic tools for faulty electronics, and using them costs nothing and carries no risk.
What to look, listen, and smell for:
- Visible damage such as cracked screens, broken connectors, or discolouration near vents
- Burning smell, which indicates a component has overheated or failed, and means the device should not be powered on again until assessed
- Unusual noises such as grinding fans, buzzing from speakers at rest, or crackling during use
- Inconsistent behaviour such as faults that only appear after the device warms up, or that vary with temperature
This information is genuinely useful for a technician and helps narrow down the diagnosis before the device is opened.
5. Check for Overheating as a Contributing Factor
A significant number of faulty electronics faults are heat-related rather than component failures in isolation. If your device is running hot to the touch, shutting down unexpectedly, or located in a poorly ventilated space, overheating may be causing or contributing to the fault.
What to check:
- Ensure vents are clear of obstruction and the device has at least 10 centimetres of clearance on all sides
- Check whether the fault occurs more often after extended use, which points to a thermal issue
- Remove any items stacked on top of the device that may be blocking airflow
For a detailed breakdown of how to prevent heat damage before it becomes a repair, home electronics overheating prevention covers the key causes and fixes in full.
Where to Stop: Tests That Are Not Safe at Home
1. Anything Involving Opening a Mains-Powered Device
This is the clearest and most important boundary for testing faulty electronics at home. Televisions, amplifiers, and any device powered directly from the mains contain components, particularly capacitors, that can store lethal voltages for hours or days after being unplugged.
As covered in how capacitors store and release electrical charge, large electrolytic capacitors in power supplies can hold several hundred volts even after the device has been disconnected from the mains. This is not a theoretical risk, it is a real and serious one.
Never attempt:
- Opening a television, amplifier, or any mains-powered device without proper training and discharge equipment
- Probing internal components with a multimeter while the device is powered on
- Replacing internal components without understanding the circuit and its voltage levels
- Bypassing fuses or protection circuits to see if a device works
2. Valve Amplifier Testing
Valve amplifiers deserve special mention because they operate at significantly higher internal voltages than most consumer electronics, typically between 300 and 500 volts DC in the power supply. These voltages remain dangerous in filter capacitors for an extended period after shutdown.
If your valve amplifier has developed a fault, basic external checks are fine. Testing beyond that needs a qualified technician with the right equipment. For a full professional assessment, valve amplifier repair on the Sunshine Coast covers everything from bias adjustments and valve testing to full circuit repairs.
3. Anything After a Burning Smell or Visible Damage
If your faulty electronics device has produced a burning smell, shown visible discolouration near vents or components, or has physically damaged connectors or housing, do not power it on again. Bring it to a qualified technician for assessment before attempting any further testing.
A burning smell means a component has already failed under thermal or electrical stress. Powering the device on again risks further damage to surrounding components and, in some cases, a fire risk.
When to Hand It Over to a Professional
These are clear signs your faulty electronics needs professional diagnosis rather than further home testing:
- The device has produced a burning smell or visible heat damage
- Basic checks haven’t identified the fault after two or three attempts
- The fault is intermittent and impossible to replicate consistently at home
- The device involves high voltage internally, including any mains-powered equipment
- Physical damage is present to the housing, screen, or connectors
- The fault appeared after liquid exposure
For a broader look at which repairs are genuinely safe to attempt at home and which aren’t, iFixit’s repair safety resource is one of the most comprehensive references available for Australian households wanting to understand the boundaries.
At Brocky’s Electronics, we handle everything from basic fault diagnosis and component-level repairs to full internal restorations across televisions, amplifiers, digital pianos, and audio equipment across the Sunshine Coast.
Why Sunshine Coast Locals Trust Brocky’s Electronics
We’re a local workshop, not a mail-away repair centre. When you bring your faulty electronics to us, a qualified technician with real hands-on experience assesses the device honestly and explains what’s wrong in plain language before any work begins.
Here’s what you get with every service at Brocky’s Electronics:
- Experienced technicians across all major brands and device types
- Honest assessment, we’ll tell you if it’s not worth repairing
- Fast turnaround, because we know you need your equipment working
- Genuine replacement parts wherever possible
- Transparent, upfront pricing with no surprises
We’ll let the locals we’ve helped do the talking.
Get Your Faulty Electronics Assessed Today
Don’t let a fault sit until it becomes something far more expensive to fix. Whether it’s a quick diagnosis or a full internal repair, the team at Brocky’s Electronics is ready to help.
From faulty electronics assessments to televisions, valve amplifiers, digital pianos, and mixing consoles, you can find everything we do at Brocky’s Electronics.
Contact Brocky’s Electronics today and we’ll have your device assessed and back in action as soon as possible.
FAQs
1. Is it safe to open a faulty television at home?
No. Televisions contain capacitors that hold lethal voltage even when unplugged. Internal TV repairs should only be handled by a qualified technician.
2. What can I safely test on faulty electronics at home?
Power supply, cables, batteries, firmware, and factory resets are all safe to check. Anything involving opening a mains-powered device is not.
3. What does a burning smell from electronics mean?
A component has failed under thermal or electrical stress. Do not power the device on again, bring it for professional assessment immediately.
4. Can a factory reset fix faulty electronics?
Sometimes, if the fault is software-related. It won’t fix hardware faults but it’s always worth trying before assuming a component has failed.
5. How do I know if my electronics fault is heat-related?
If the fault appears after extended use, the device runs hot to the touch, or it shuts down unexpectedly, overheating is likely contributing.


